Monday, August 31, 2020

Our dream wedding (August 2018)

Wow. It's already the last day of August, so this is another last minute blogpost. 

I've been working on an exciting new project, while trying to take time for self-care and obviously still taking care of my daughter and the household full time. So it's been a lot. Busy busy. 

It's also my husband's birthday month! Happy Birthday again, baby. So in honor of our wedding and his birthday I'm dedicating this post to the man of my dreams and our dream wedding day two years ago!

I hope you enjoy this little throwback as much as I do every time I look at pictures of our perfect day. 

I'm trying to choose pictures that haven't been posted a quadruple times on various platforms already. Don't expect any group photo and couple shot déjà vus.


All pictures and our wedding trailer were taken by talented Arkadiusz Klimek 

- otostudio.eu & otostudio on youtube -


Location

We celebrated our destination wedding in Lagow, Poland in a beautiful old castle. The castle is being used as a hotel these days which allowed us to stay and celebrate on the premises. It is truly a magical place. The vines in the courtyard with the decorations of our choice made it feel like a midsummer night's dream. The castle is also located on a peninsula between two lakes, which makes it even dreamier to spend a long wedding weekend there.

Zamek Joannitow in Lagow, Poland


For our wedding colors we picked white, blush, navy blue and gold. To us these colors have a royal appeal and matched the castle atmosphere perfectly.
I'm inserting some pictures I used for inspiration. I obviously had multiple Pinterest boards with hundreds of pins, but this is basically what I was referencing when it came to the color scheme.


We had golden wooden numbers, as well as golden frames with pictures of us on each table.
The table numbers matched our age in the pictures. I found this adorable idea on Pinterest and just had to do it. Look at us cuties, when we were 3 years old!


All of our signs and cards were handwritten by my talented husband. Truly a man of many talents.


Getting ready with the bridesmaids 


My beautiful dress is "Arlene" by Spanish bridal design house Pronovias.


The most comfortable wedding shoes I could've picked. 
No one could see my shoes until I changed after midnight anyway. 
In my flats I also wasn't taller than my groom - so sneaky! 


Getting ready of the groom


My groom getting ready. This is one of my favorite pictures ever of him. So handsome.


This is such a great but simple flatlay idea. I love it. 
And I love how we were both wearing special socks on our wedding day. 


Our emotional wedding ceremony 


I really loved the room our wedding ceremony took place in. The walls and ceiling are designed so intricately and give it vintage vibes but the flowers and the decorations made it look fresh and modern.

Next up: Double chins and vows.


Look at us married people. 


Time for champagne and cake


I came across the concept of the "Groom's cake" and I loved it. 

Since the traditional wedding cake usually depicts the bride - white, tulle, pearls, flowers - some couples have another cake, which is supposed to represent the groom. Since my husband is from Colombia he wanted a coffee cake. It looked minimalistic and most importantly it was delicious. 


Dessert table aka Candy bar at our destination wedding in Poland

I still dream of all the delicious desserts on this dessert table also known as a candy bar. 

We actually had this table full of cream puffs, mini pavlovas, mini tarts and cream filled golden eggs, as well as a actual candy cart with store bought candy. All the kids (and adults!) loved it!

Candy time!

Reese's cups, white chocolate Schokobons, old-fashioned Lollipops, center shocks, Hershey's kisses and vegan gummibunnies. Yummy!


A couple of group shots...

This one must be my favorite one of them all! I had to share even though everybody who knows me has seen it. I'm sorry. And we love you guys!


Uh-oh! Hehehehe


Our first dance


Will you still love me, when I'm no longer young and beautiful?
I know you will.


The only game... 


The shoe game was the only game we allowed at our wedding. Solely because we find most of the wedding games inappropriate or just not fun. We believed that after spending so much time, effort and money we should be able to enjoy our day to the max and not feel awkward or weird about anything. 

The game is very easy. We were asked questions and had to answer by lifting up our or our significant other's shoe. Most of the time we lifted up matching shoes, but there were a lot of laughs when we didn't. Entertaining and fun game for everyone, the couple and the guests. 

Here are some examples for questions via fun squared.


And that is it for now, guys!

Maybe I'll make another wedding related post next year in August. Or I won't. We'll see.


Before you go...

Don't forget to watch our Wedding trailer! 

You'll love it, I promise.


Thank you for visiting my blog today. 
I really appreciate it!

I hope you enjoyed the post.

Mery


Friday, July 31, 2020

How I captured my Baby's first year


First of all. You don't need to do any of this to be a "good parent".
The time and effort I used to create these things you could use and probably have used differently to engage with your child. So no pressure. The best memories aren't saved on a SD card or photo paper but in your heart anyway.

I am going to share what I did.

1. I wrote down her birth story

You see them everywhere these days. Instagram, youtube, blogs... Birth stories. And they are all beautiful.

When I was pregnant I was reading so many of them and listening  to all the mamas sharing their experiences in videos for hours. Laughing, crying, remembering the pain, reminiscing about the joy... the first time they saw their babies and the first time they smelled their sweet smell.

Time, place... How did you go into labor? How long were you in labor for? Did you get medication?
These are probably the things easiest to remember... I also wanted to be able to tell our daughter all the little details about her birth. 

I think the birth story written out on a nice piece of paper in an envelope can be a great addition to the baby's keepsake box of firsts. 

I don't want to share my birth story online for privacy and intimacy reasons, even though I'm very comfortable sharing in a safe space (with family members, other moms.. etc.). 


2. Footprints, handprints and all the firsts! 

Very typical, but I still want to mention the keepsakes of a baby's first year.
We have a footprint from her first couple of hours earth side and one where she was a little older but still tiny! Plus the handprint. 

We kept her little hospital bracelet and ankle bracelet, her coming-home outfit, her first pacifier, her first socks... it's all so tiny and precious. 


3. Every day for a year...

I wrote down something about our baby girl every day for her entire first year of life. 
Sometimes it was just a sentence and sometimes a whole paragraph. Not every day is filled with new achievements or milestones but if you try to be mindful you can pick out a little detail about each day and note it down. 


4. Pictures and videos on my phone

This one is the most obvious one and I am sure that 99% of the parents these days take at least 5000 pictures (and hopefully videos too!) of their child with their phone in the first year. Honestly though, these pictures to me are more like raw material. I like flipping through them every once in a while (and cry a little bit) but what do we make out of them?

5. A keepsake photo album

I purchased a beige linen cover photo album with blank pages to fill it with pictures of my daughter's life.
I included pictures of my pregnancy photoshoots with my friend Jessi, some ultrasound pictures and lots of beautiful photos of my baby. Unfortunately the book I bought didn't even fit her first year's worth of photos! I only got to her 6th month and now it's full... Oops.

I used different photo printing services but my favorite one of all times is Social Print Studio.
(This is in no way sponsored. I just love their products and want to spread some love.)


6. An analog photo album

"Analog film photography? Really?", you may ask yourself. Yeah! It's still a thing!
I'm definitely not a great photographer but I love the vintage feeling of analog photos. I take them with the camera my parents used to take baby pictures of me. It's an old Minolta camera and I love it dearly. I got a little separate photo album to store those special memories in. Look at these moments in our first days as a family on film.


 7. Polaroid photos

Okay. Story time.
When I was growing up we didn't own a Polaroid camera, but they were often present at fairs we went to, where you could pay to get a Polaroid photo taken of you. I thought it was the coolest thing ever. With these memories in my head and hanging out on indie tumblr blogs too much, when I was 18 I searched the internet for a used Polaroid camera and I found one for super cheap. I think I paid 25 Euros with shipping. The problem was the films. At the time they were very rare and expensive (50 Euros per film on eBay...). So I never knew if my camera actually worked or not. Until Polaroid started selling them for much less again. I couldn't wait to receive them and try it out. When I did and found out it worked I literally had tears in my eyes from happiness! I am able to take precious Polaroid pictures of my daughter and she'll be able to look at them when she's older and say: "Umm... did you guys not have digital cameras when I was born?"

No, just kidding. I have no clue what she will say, but I don't need her to appreciate them as much as I do.

I used little transparent sticky corners to temporarily give them a home in her linen photo album, but I didn't want to glue them in because there's obviously only one of each photo. I might want to display them differently at some point and I don't want it to be a pain to get them out. 


8. A (way too long) video compilation of her first year

As I mentioned before, the videos I took trough out the first year are more like raw material to me.
I knew I didn't want them to just be shared on messengers and sit in the cloud. All those short clips would not be fully appreciated that way. So I made a over 10 minute long video on iMovie. I would share it here, if it didn't invade my daughter's privacy. Let me tell you - it made people cry! 

I used free video music from free-stock-music.com and the song My little Girl by Jack Johnson as background music.


I can't wait to show her all these things when she's old enough to understand and appreciate them! 
She'll probably never feel the same way about all this as I do though.  


I hope you enjoyed reading about these ideas and maybe you even got inspired.
Thanks for visiting my blog!
Mery


Tuesday, June 30, 2020

Ocean & Whale themed first Birthday party (during quarantine!)


I had very different plans for our Baby girl's first birthday party. That's for sure.
That doesn't mean that it didn't end up being lots of fun and a beautiful memory.
Mostly for the adults of course since the birthday girl will most likely not remember her special day.

On her birthday we had been in quarantine or stay-at-home state, not seeing friends and family much (except for in our drive-ways and on our porches) for around 6 weeks. Masks were worn in public places. All but essential business were closed. Schools had been closed and on her birthday it was announced that they wouldn't reopen for the rest of the academic year.

So, we didn't have the party we planned to have. With a fun BBQ in our backyard, a Kumpir bar, dogs and kids chasing each other on the grass and aunties and uncles taking turns holding the birthday girl. We still tried to make the best of it.

On her actual birthday I made her her favorite breakfast: French toast with berries and banana.
She blew out a birthday candle (with a little help) and we played and hung out at home until her nap time.
After her nap we visited a local park. The animal preserve was closed but we managed to peek through the fence. We felt like such creeps! But special times require special techniques, I guess.
We also went to the dock not far from our house to do listen to the waves and smell the salty air.
When we got home it was time to smash the cake!
We set up the table with a nice white table cloth in front of the backdrop I had been planning for weeks, put the homemade and decorated cake on a cute cake stand, dressed her in matching clothes and were excited to see her smash that cake!
And what do you think happened? She was terrified of sitting on the table, by herself with the cake next to her!
We picked her up of course and slowly got her used to the idea of touching the cake...
Then we ended up eating the cake together. No real smashing occurred. 


I love matching our outfits!
My Minime & me.


For her party the next day we asked our closest family members from here to drive into our drive-way for a

"Whaley fancy tea party"


Carlos and I have had afternoon tea in London multiple times before and I love it so much! It's so posh!
Inspired by our experiences I made finger sandwiches with the crust off, filled with hummus, cucumber salad and guacamole. I also made cream cheese and smoked salmon roll-ups.
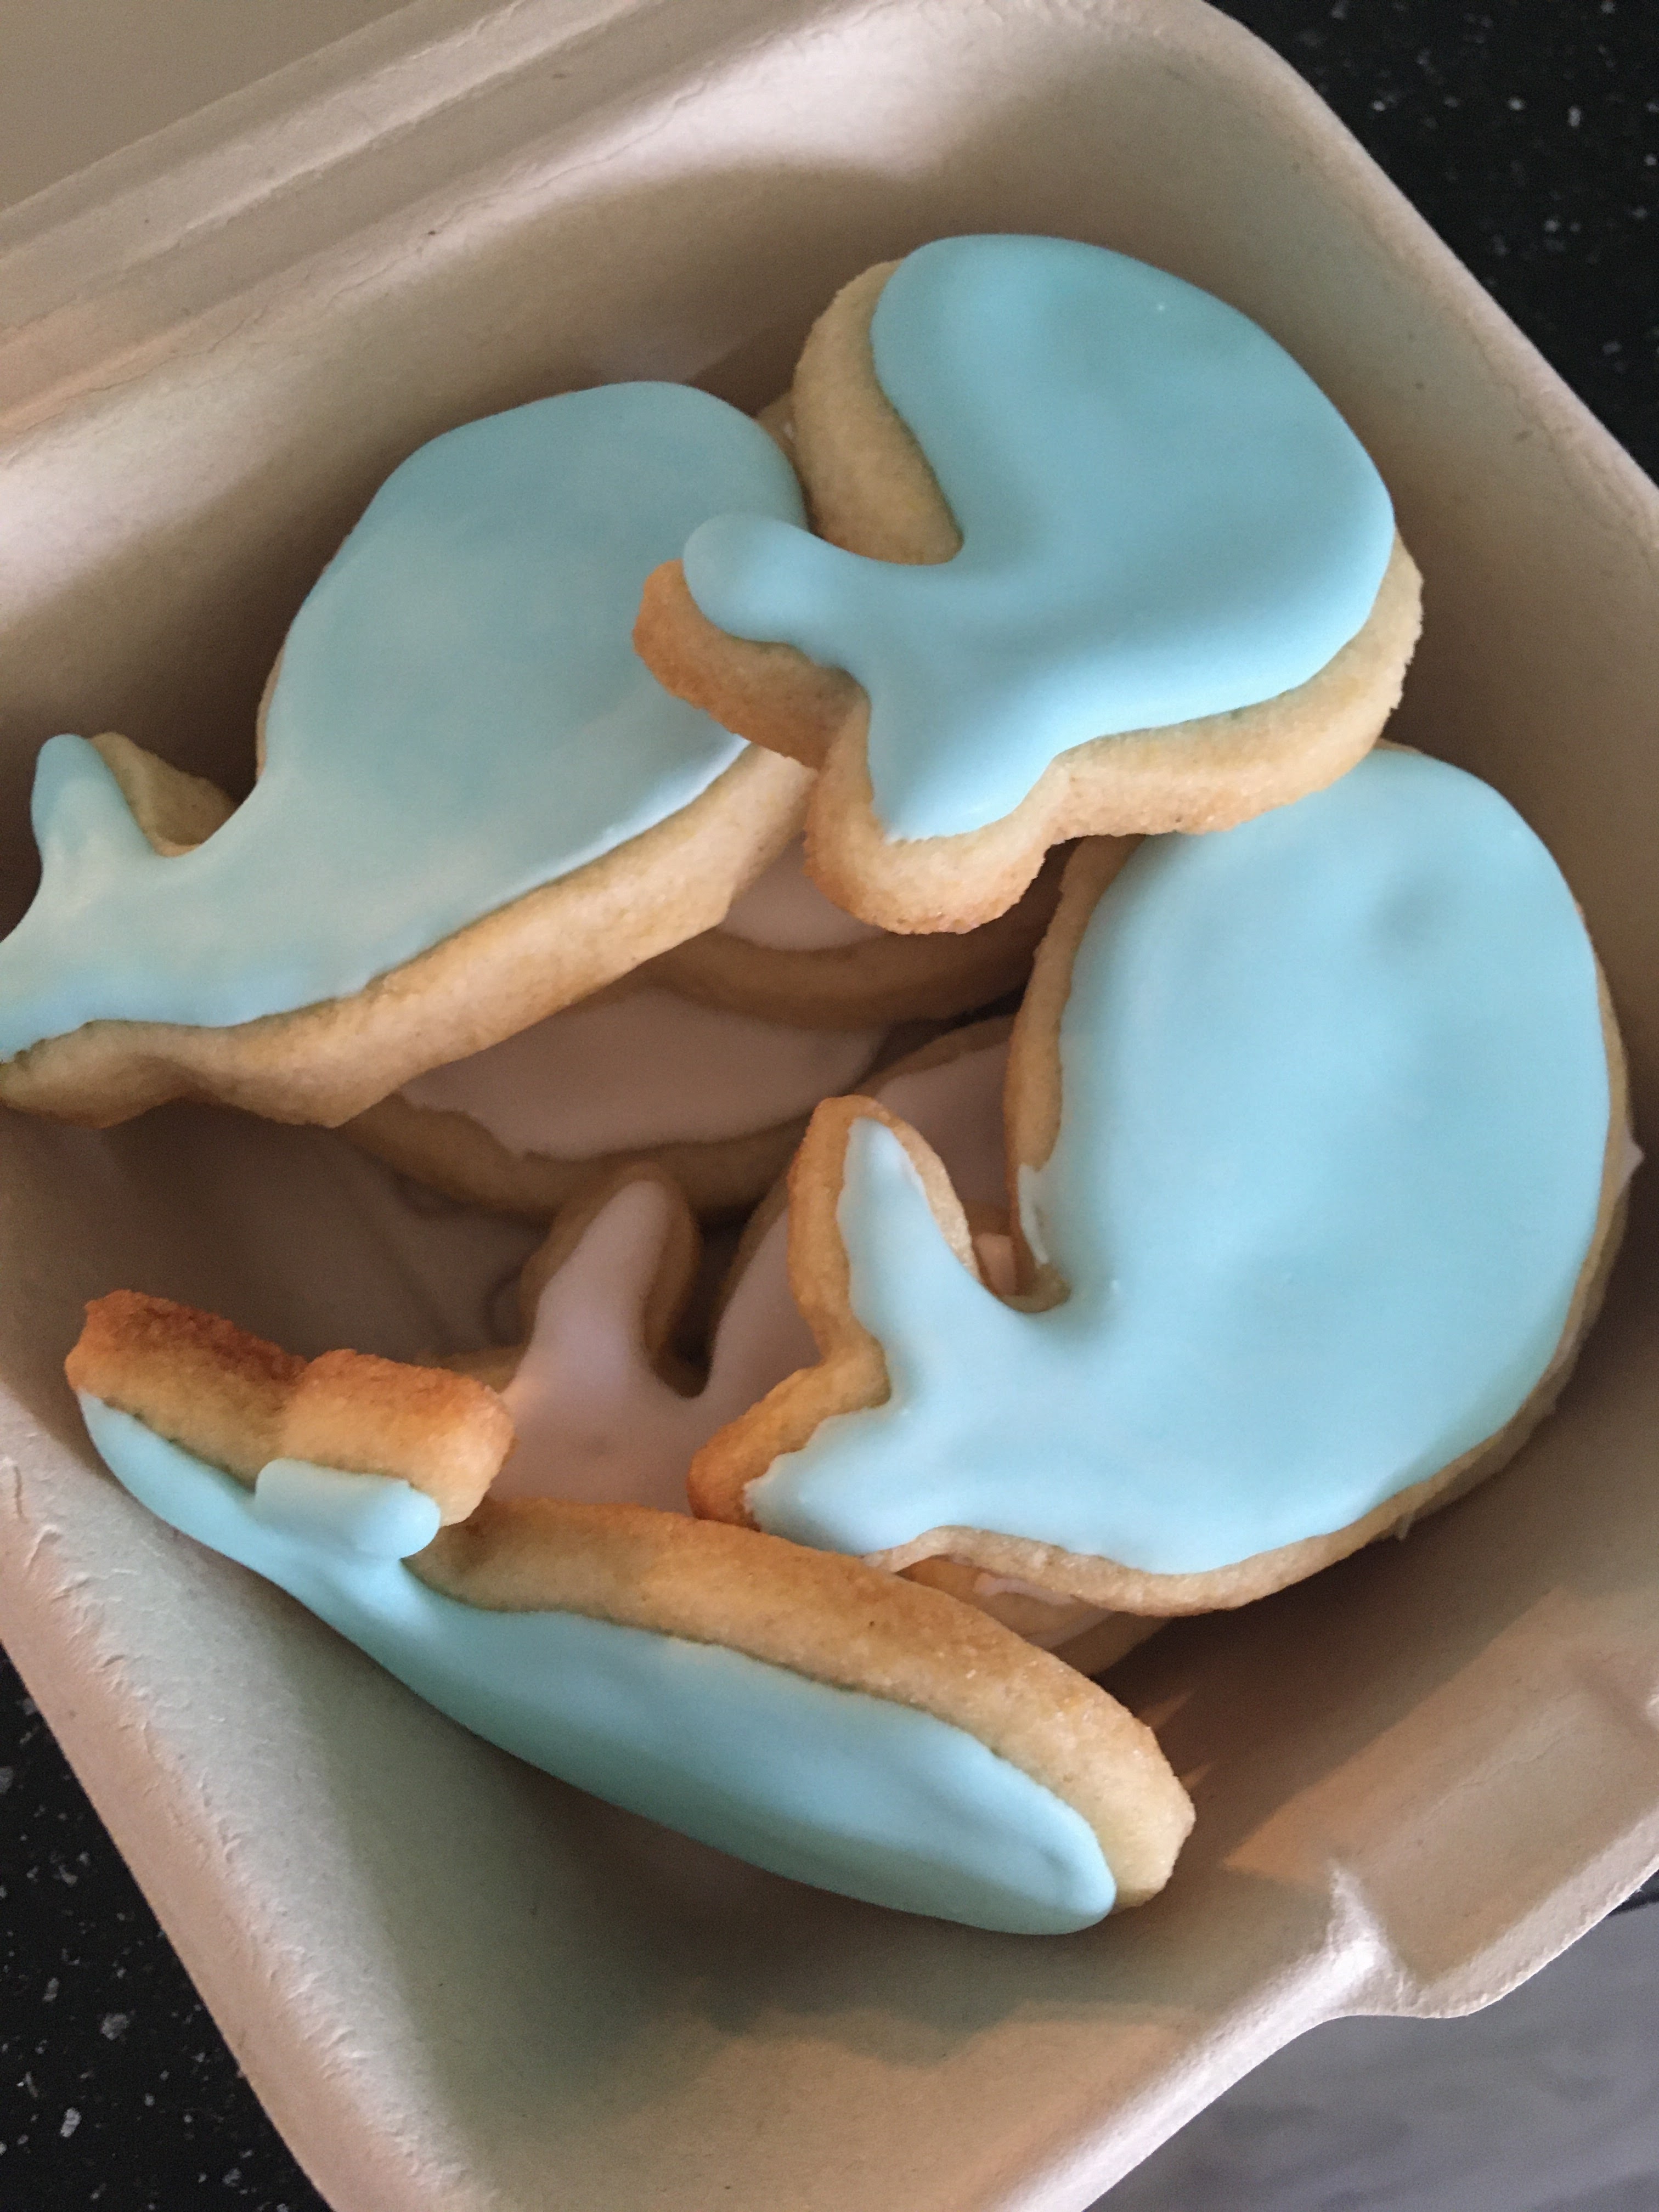
For dessert there were chocolate chip scones (which were gone so fast I couldn't take a picture), cupcakes filled with dark chocolate ganache and topped with mascarpone and whipped cream, homemade whale shaped sugar cookies with royal icing and a simple layered cake filled with berries and whipped heavy cream and mascarpone. The little blue dots on the cupcakes and the cake were also made from scratch with royal icing. So easy and cute!
Everything was served in compostable containers and our guest brought their own cutlery and napkins.
Drinks were served in recyclable cans and bottles.


I would say we had lots of fun, while staying apart. We blew soup bubbles, chatted and laughed. All in all we had a blast. Not that I have ever done it but it reminded me of the concept of tailgating. Just without the alcohol and the BBQ.
Our birthday girl is blessed with loving people in her life, who brought her the most generous gifts.
We started playing with them right there in the drive-way.  


One of her gifts: A beautiful handmade wooden mud kitchen with a roof


Playing with the new gift barefoot and in socks and slides


Another awesome gift: The radio flyer walker wagon


Lilly aka "Oodie"


The real "Oodie"


I know it's the end of June and I'm posting about the birthday party in the beginning of May.
Life's so busy and "Corona time" doesn't make it slower, when you live with toddler.
One blogpost per month is manageable for now, since this is supposed to be a challenge but also enjoyable and fun.

Thank you for visiting my blog!
Mery


Here are some of the things I used for her decor!
*Affiliate links


Saturday, May 30, 2020

1st Birthday: Water color Ocean smash cake (with recipe)


When I was thinking about what kind of cake to make for my daughter's first birthday I didn't have "healthy" or "sugar free" in mind. I didn't think she would actually eat (much of) it and even if she did... it's her birthday and she doesn't eat candy usually. So, the dough contains sugar, the cream doesn't.

I wanted it to be easy and fast to make, because I wasn't going to pour my heart out into a cake she's not going to appreciate and just going to destroy. And I don't have that much time on my hands anyways.
I still wanted it to look good though. For pictures, you know. For the 'gram!


For the base:

3 egg whites
3 egg yolks
100 grams or 1/2 cup of sugar
75 grams or 2/3 of flour
25 grams or 1/4 cup of cornstarch
1/2 teaspoon of baking powder
Optional: a drop of vanilla extract

  • Preheat oven to 350 degrees F or 180 degrees C. Line a 7 inch round cake pan with parchment paper, only on the bottom. DO NOT grease the sides.
  • Beat the egg whites for 3 minutes on high in a stand mixer (or with a handheld mixer until semi whipped/semi firm), then add half the sugar, beat again for 3 minutes.
  • In another bowl beat the egg yolks with the other half of the sugar for around 5 minutes or until pale and fluffy. Add vanilla extract while mixing, if you wish.
  • Fold the egg white fluff into the egg yolk fluff with a spatula. DO NOT use your mixer!
  • Combine the flour, cornstarch and baking powder in a bowl before adding or sifting into your combined fluff. Sifting is better to avoid clumps but I usually don't.
  • Pour the batter into a 7 inch round pan. Make sure to only fill 1/2 to 2/3 of the pan, so the cake doesn't grow over the pan!
  • Bake for 20-30 minutes. Use the toothpick method to make sure your base is properly cooked!
  • Allow the cake to cool completely before removing it from the pan.
  • If your cake has an uneven top later, remove it. Otherwise cut the cake into 2 or 3 pieces.  

For the cream:

1/2 a pint of heavy whipping cream
1 teaspoon of cornstarch

  • Pour the cold heavy whipping cream into your cold bowl, place onto your stand mixer and beat until semi whipped.
  • Add the cornstarch.
  • Keep beating until cream forms peaks but DO NOT over beat (or else you will have butter).
 
For the decor:

Wilton gel food coloring in the desired color
Schleich animal figurine matching the theme

Assembly:

For my cake, you'll just need to bake a simple sponge cake, remove the uneven top layer and cut it in half. I should've cut in 3 pieces for better texture and mix between cake and cream, but I didn't bother...
it was mostly for pictures and smashing!
You want to layer the pieces with cream and cover the entire cake in cream with an angled icing spatula or a wide knife.
For the water color effect add one drop of blue gel food coloring on your spatula and spread it across the cream, as if you were painting on it. The more you spread the food coloring, the lighter it will get on your cake. You can play around that way until you get your desired design.You can obviously use and mix different colors to match your theme!
Once you put the cake in the fridge to cool the color will most likely fade as it gets sucked into the cream. I would recommend decorating it à la minute.
Then add your preferred animal figurine on top or on the side, depending on the size of it.
Our whale was too huge to place it on top of the small cake!


Our One-year-old didn't care to smash it, by the way.
She was actually a little intimidated by the cake...

I hope you enjoyed reading this recipe and you will give it a try!
Let me know, if you do. It's very easy, I promise!

When I don't make this for a baby, I add sugar into the whipped cream and fresh or frozen berries on top of a layer of cream. It's delicious! I recently made a bigger naked chocolate drip cake with the same base and filling.


Here it is:


Thank you for visiting my blog.
Mery


Our favorite books in the first quarter of the year (Books for 1-2 year olds)

My, oh my. I was so so eager to post once a month last year. And I kinda did. Some of the posts were really just forcefully pushed out of my...